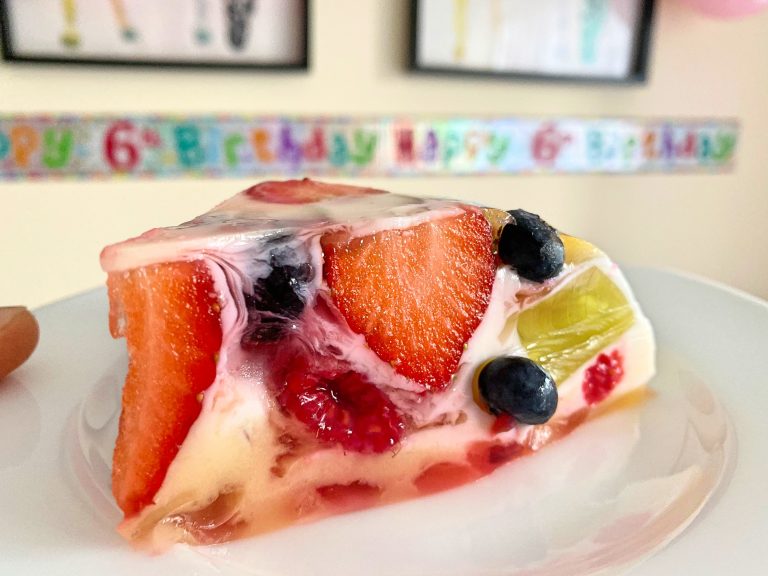
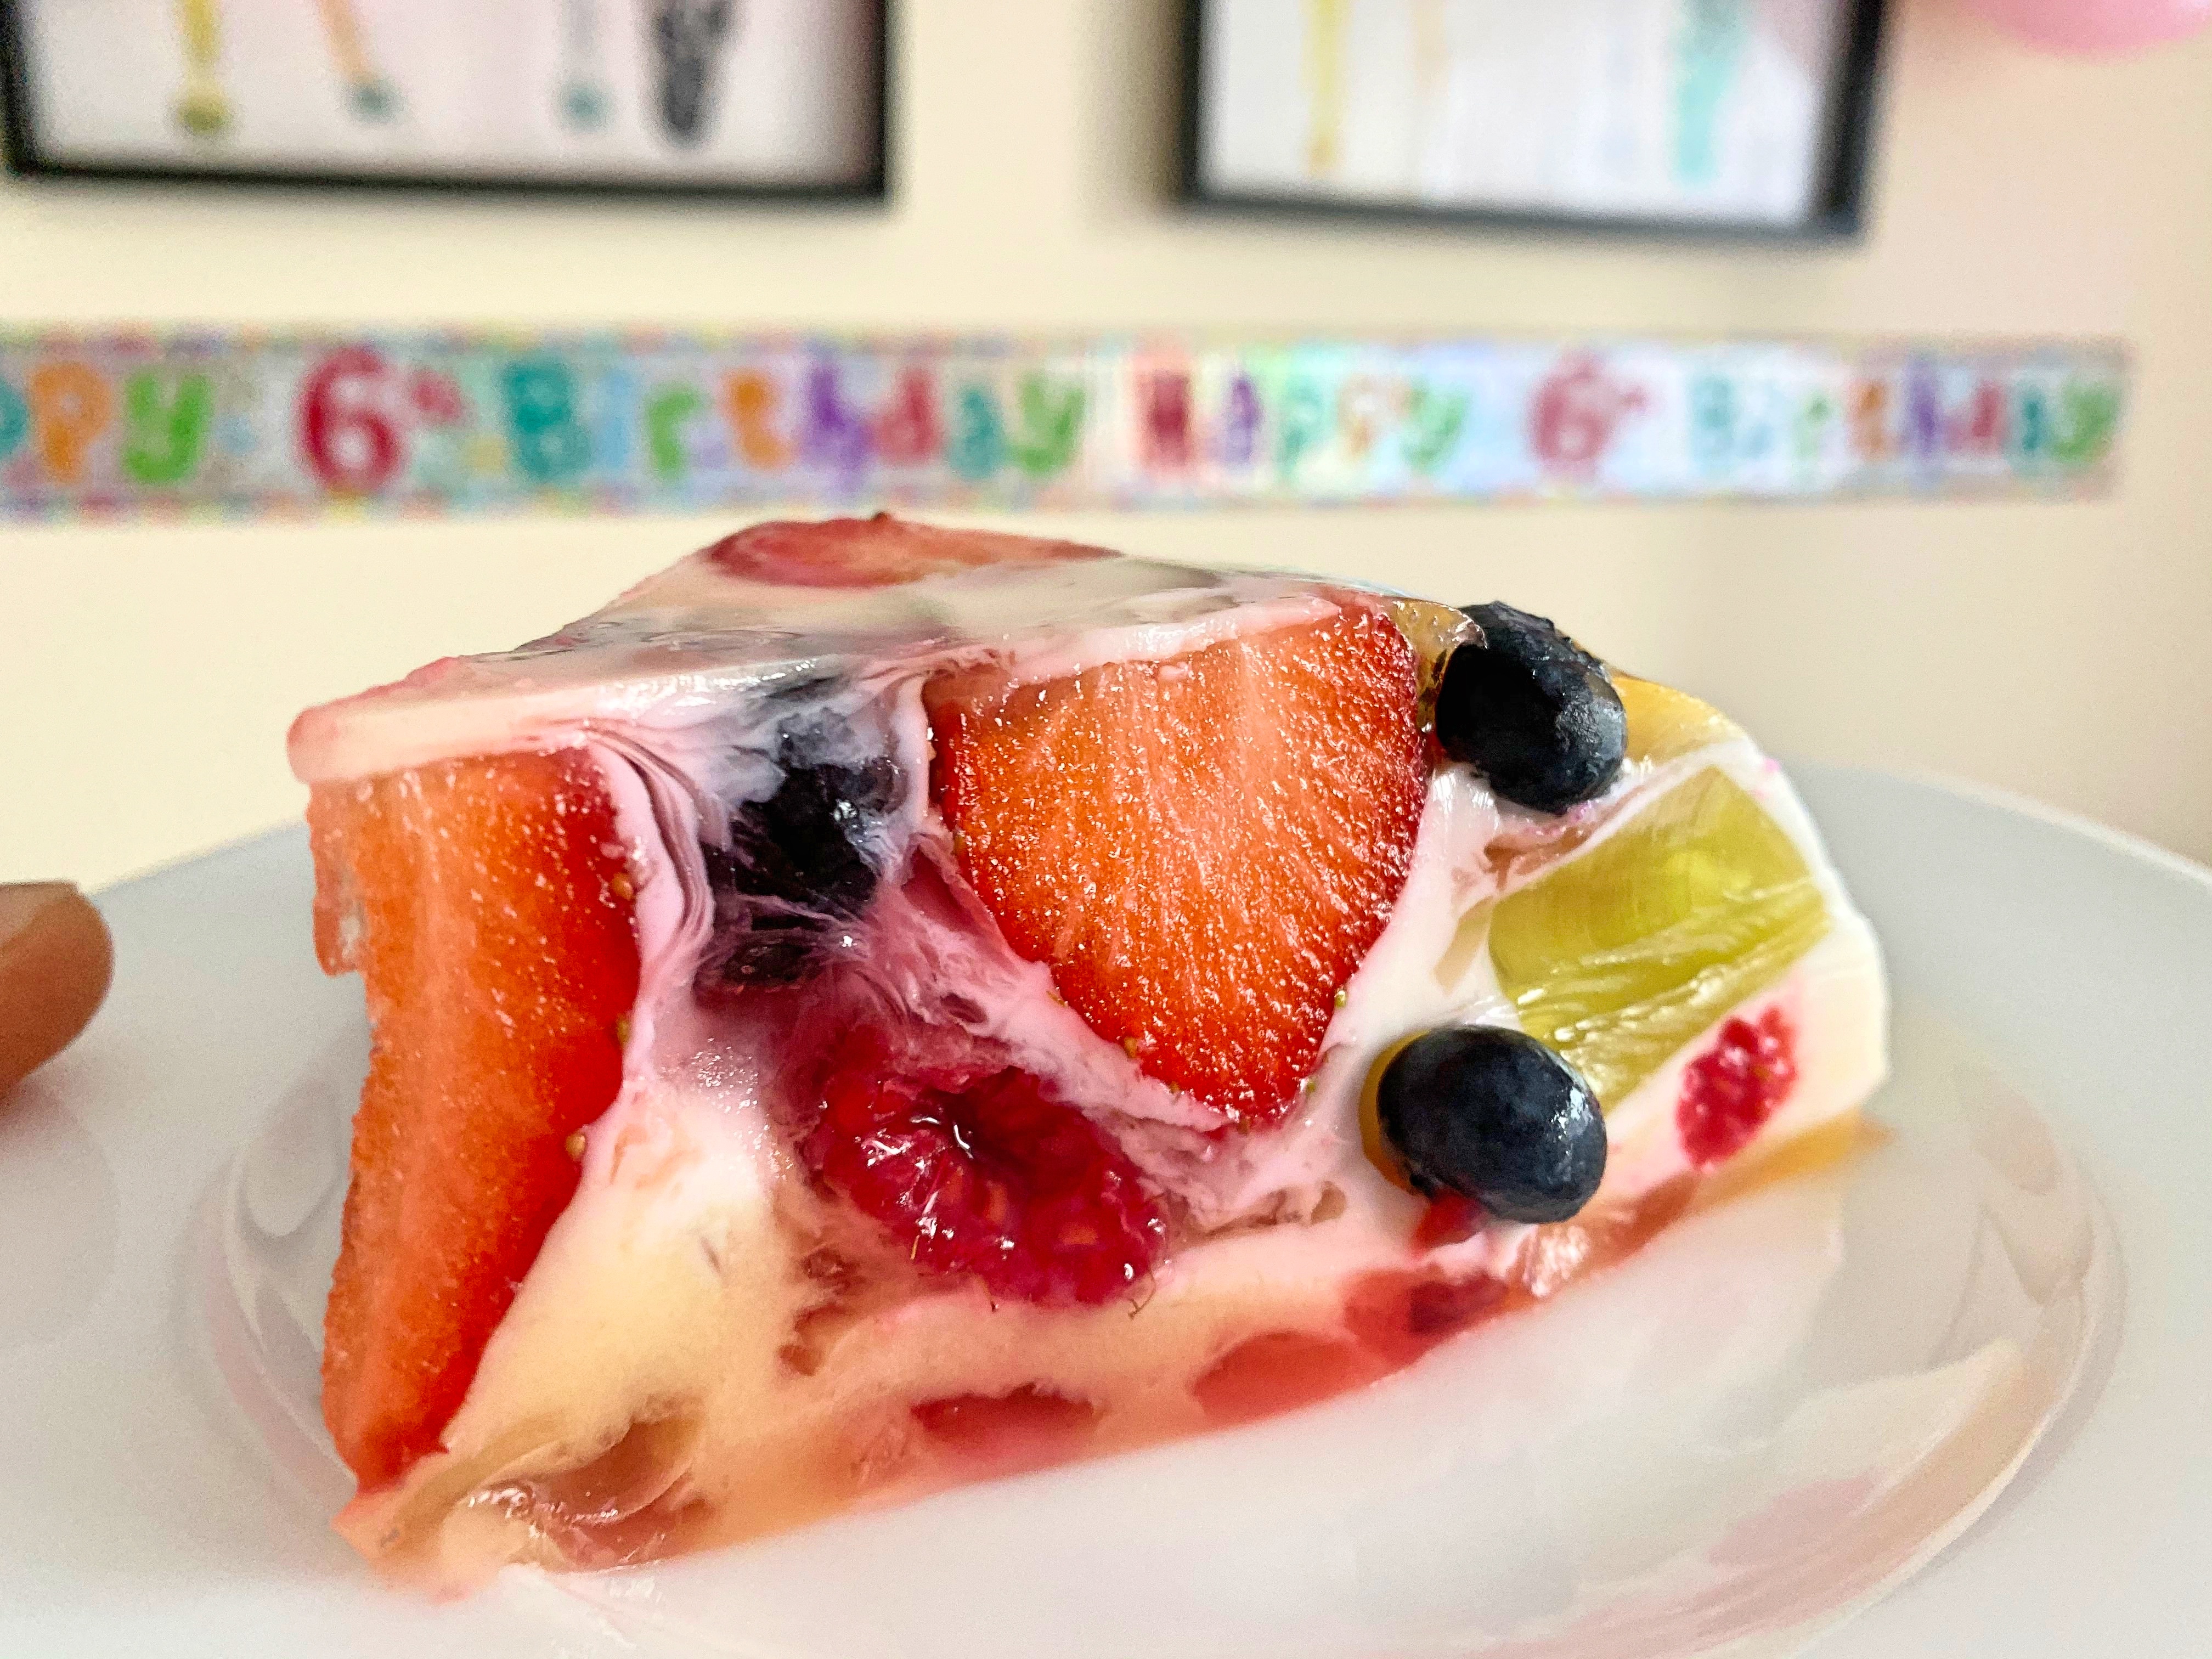
This Stained Glass Jelly Cake with Fruit (low FODMAP) is a perfect recipe for a low calorie dessert, which looks very inviting and colourful.
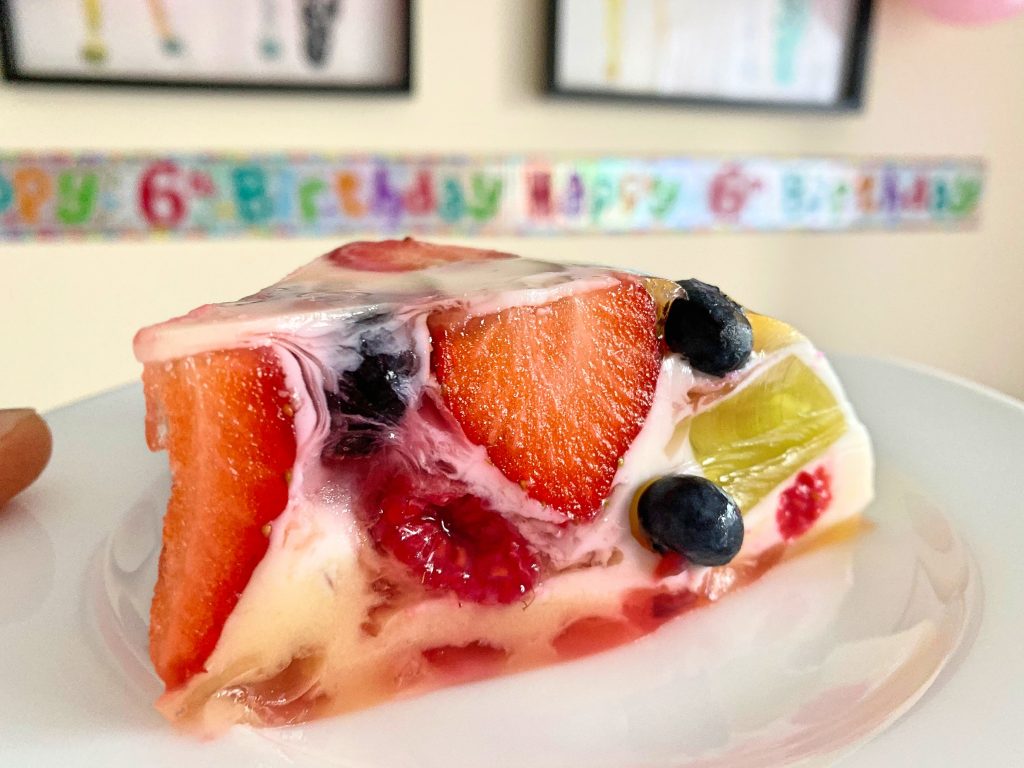
STAINED GLASS JELLY CAKE WITH FRUIT (LOW FODMAP)
Do you feel like a light dessert? Maybe even with no added sugar? This yogurt and jelly based cake is light, fruity and simply very tasty!
It is also lactose and gluten free!
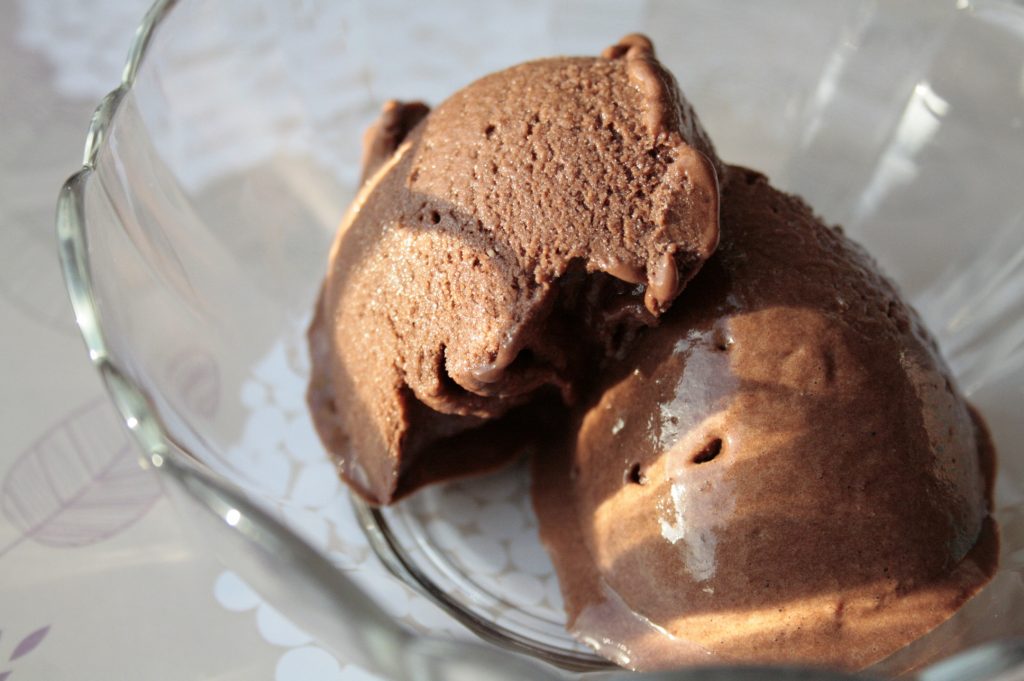
Did you try our recipe for banana chocolate ice cream yet?
Find it after clicking on the picture below ↓↓↓
I love this jelly cake because not only it looks so interesting (it depends on your patience and time and how many layers you decide to make) and it tastes like a proper dessert, even though it has no added sugar. For me it is a great comfort food!
It is a great idea for parties and it disappears very quickly, not only with help of the children. For them this time I prepared as well the ladybird mini jelly cakes, which was last minute idea. Therefore next time I will make sure that the colour matches real bugs colour.
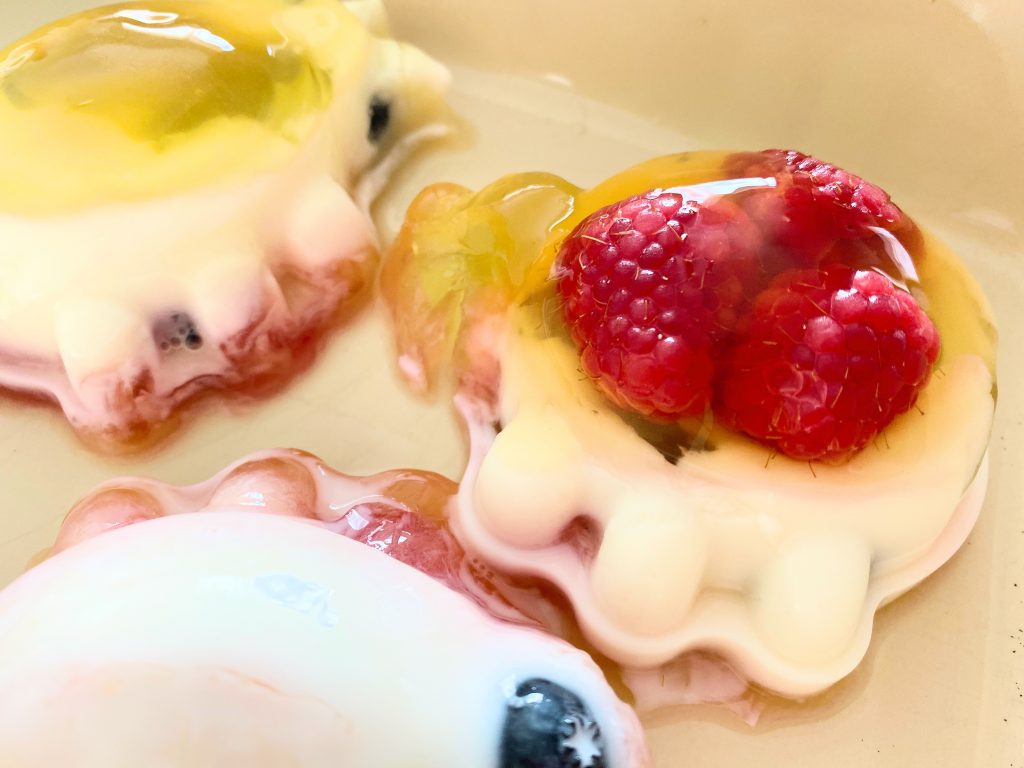 Ladybirds mini jelly cakes
INGREDIENTS FOR A STAINED GLASS JELLY CAKE WITH FRUIT
(LOW FODMAP)
1 sachet (11.5 g) gelatine
300 g lactose free yogurt
1 tbsp low FODMAP sweetener
4 sachets of Hartley’s sugar free jelly, different colours
For both the gelatine and jelly, I used less water then stated on the sachet, to make sure it sets well.
Low FODMAP fruit, such as blueberries, raspberries, strawberries
This recipe has been approved by a Low FODMAP dietitian, Evelyn Toner. Find interesting articles about Nutrition, IBS and FODMAP on her blog.
INSTRUCTIONS TO MAKE THIS COLOURFUL JELLY CAKE:
Boil the water in a kettle.
To prepare gelatine, you need to pour hot water into a small pot (3/4 of amount stated in the gelatine’s packaging instructions), then place the gelatine powder in the water and mix until it is dissolved.
Do the same with different coloured jellies. Two of them need to be made in a medium bowls and two in a rectangular or square shaped Tupperware container. The bowl ones stay in room temperature and the square ones need to be placed in the fridge to set quicker. Those jellies in plastic boxes will be used to cut the cubes out of the jelly.
Assembling the cake
Place chosen low FODMAP fruit in a large bowl or container, where you will be setting the whole “cake”.
When the jelly cools down, quickly mix in all of the lactose free yogurt and add sweetener. Pour part of the white jelly mass on top of the fruit, if you want a white top of the cake later. Place it in the fridge.
When jellies for cubes are completely set in the fridge, you can continue creating your jelly cake. Cut the cubes in a jelly with a knife, doing it in a crossing pattern. Place some of cubes of different colours on top of previous layers; then you can pour some of the white yogurt jelly. If the yogurt jelly start to set in the pot, you can warm it up slightly over a water bath.
You can also add some more fruit, pour the liquid jelly from the bowls that will create thin layers, just remember to set it in the fridge after each layer or the colours of liquid jelly will mix.
In the end, of course, you need to place the stained glass jelly cake in the fridge for a few hours or until well set.
Serving
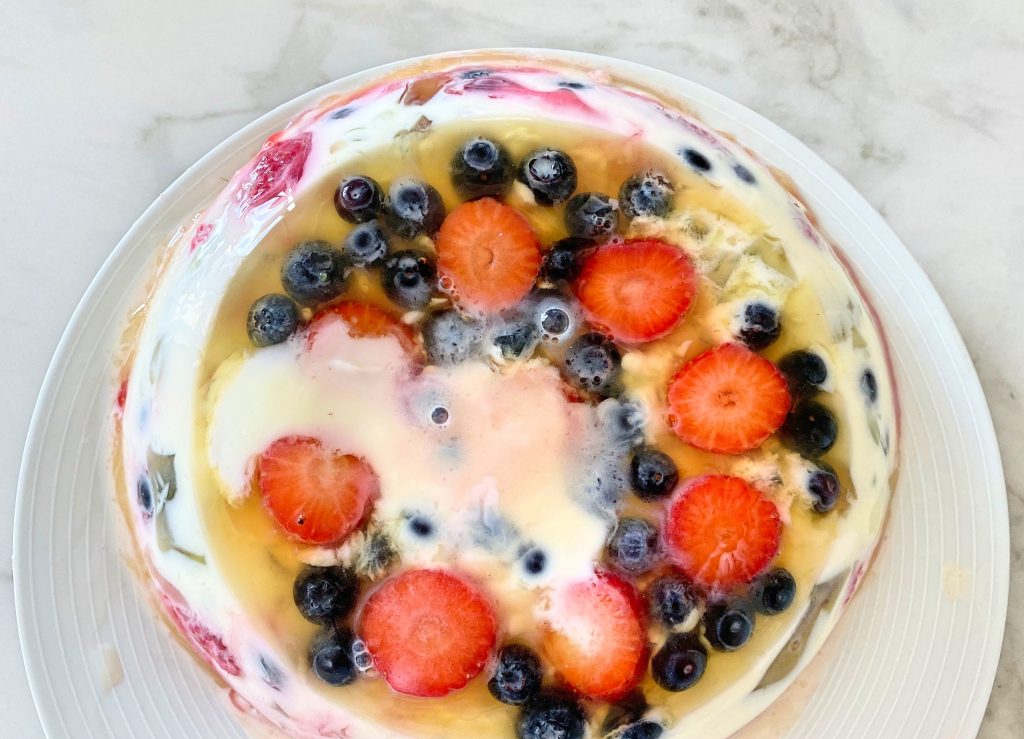
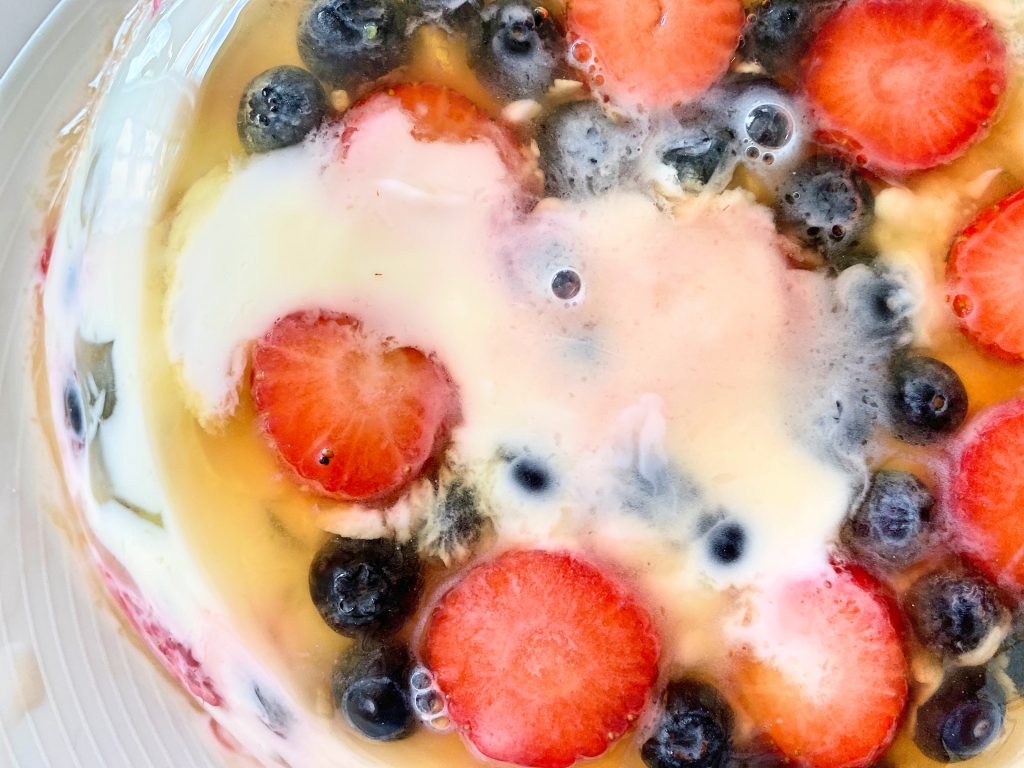
It is easier to serve the jelly cake straight from the bowl, using a large spoon to serve, but then you lack the great effect and it is messy.
The best is to place the bowl with the cake over a steaming larger pot with hot water, just for few seconds, so the edges of the jelly cake will lose up from the edges. Then place a nice serving plate on top, up side down and turn the cake over on this plate. You need to be quick so the jelly won’t land on the floor!
Enjoy!
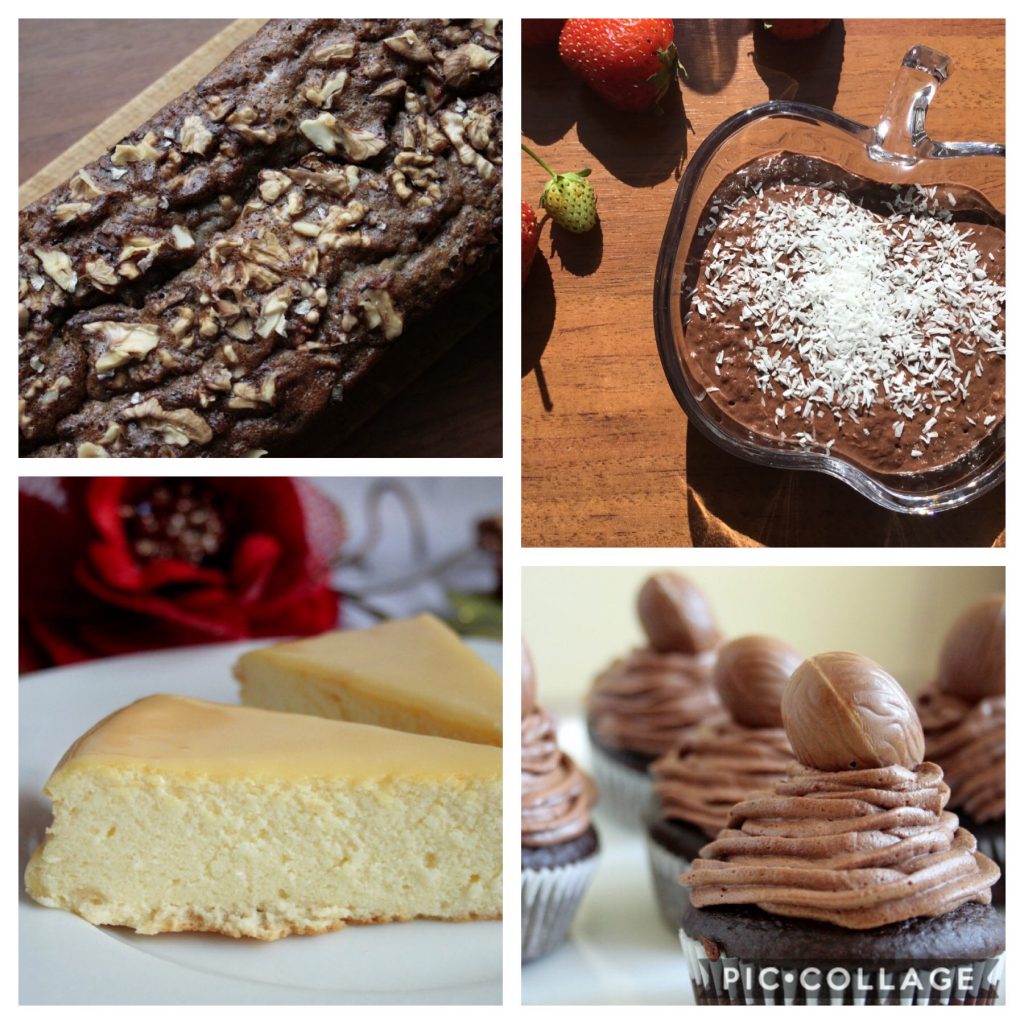
To find other low FODMAP DESSERT ideas, click on the collage picture below ↓↓↓
IF YOU TRY THIS RECIPE, LET US KNOW!
LEAVE A COMMENT, LIKE IT OR JOIN OUR FACEBOOK GROUP:
Fit FODMAP Foodie – Low FODMAP Recipes
Stained Glass Jelly Cake with Fruit (low FODMAP)
Ingredients
Equipment
Method
- Boil the water in a kettle.
- To prepare gelatine, you need to pour hot water into a small pot (3/4 of amount stated in the gelatine's packaging instructions), then place the gelatine powder in the water and mix until it is dissolved.
- Do the same with different coloured jellies. Two of them need to be made in a medium bowls and two in a rectangular or square shaped Tupperware container. The bowl ones stay in room temperature and the square ones need to be placed in the fridge to set quicker. Those jellies in plastic boxes will be used to cut the cubes out of the jelly.
- Place chosen low FODMAP fruit in a large bowl or container, where you will be setting the whole "cake".
- When the jelly cools down, quickly mix in all of the lactose free yogurt and add sweetener. Pour part of the white jelly mass on top of the fruit, if you want a white top of the cake later. Place it in the fridge.
- When jellies for cubes are completely set in the fridge, you can continue creating your jelly cake. Cut the cubes in a jelly with a knife, doing it in a crossing pattern. Place some of cubes of different colours on top of previous layers; then you can pour some of the white yogurt jelly. If the yogurt jelly start to set in the pot, you can warm it up slightly over a water bath.
- You can also add some more fruit, pour the liquid jelly from the bowls that will create thin layers, just remember to set it in the fridge after each layer or the colours of liquid jelly will mix.
- In the end, of course, you need to place the stained glass jelly cake in the fridge for a few hours or until well set.
- It is easier to serve the jelly cake straight from the bowl, using a large spoon to serve, but then you lack the great effect and it is messy.
- The best is to place the bowl with the cake over a steaming larger pot with hot water, just for few seconds, so the edges of the jelly cake will lose up from the edges. Then place a nice serving plate on top, up side down and turn the cake over on this plate. You need to be quick so the jelly won't land on the floor!
- Enjoy!
If you wish to view this recipe in Polish, click on the logo below:


